widget_toolkit_qr 0.0.1-dev2  widget_toolkit_qr: ^0.0.1-dev2 copied to clipboard
A Flutter package which provides a QR scanner widget easy integratable into the application.
Widget Toolkit QR #
Widget Toolkit QR package helps developers to add a QR scanner functionality into their applications. It can be used in the authentication process of an application.
This package is a wrapper of flutter_qr_bar_scanner,
for more information about the flutter_qr_bar_scanner package, check out its documentation.
Support iOS and Android
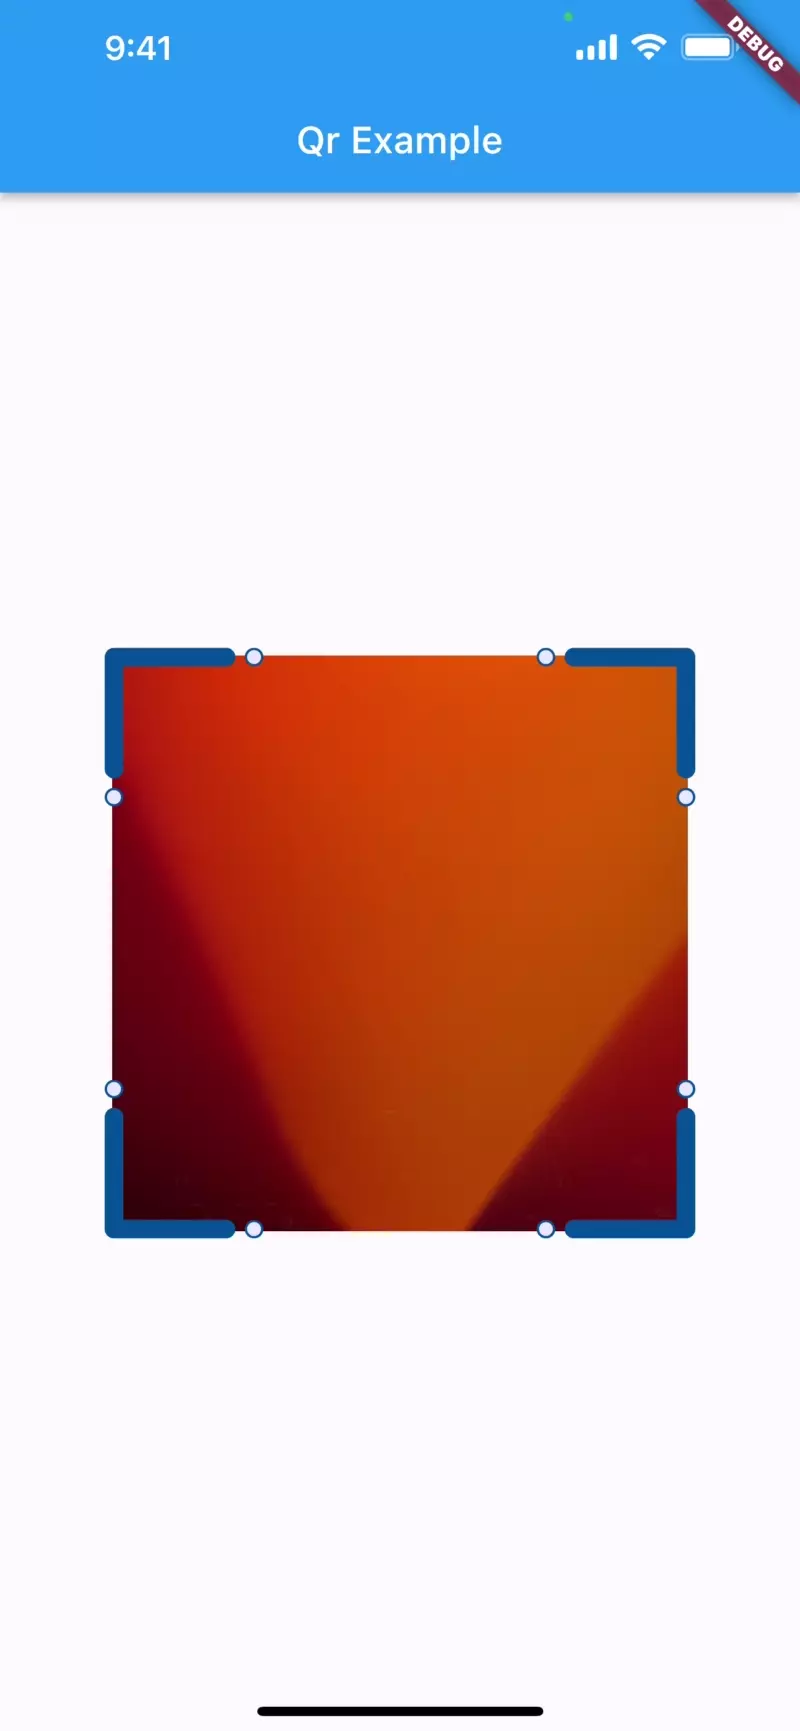
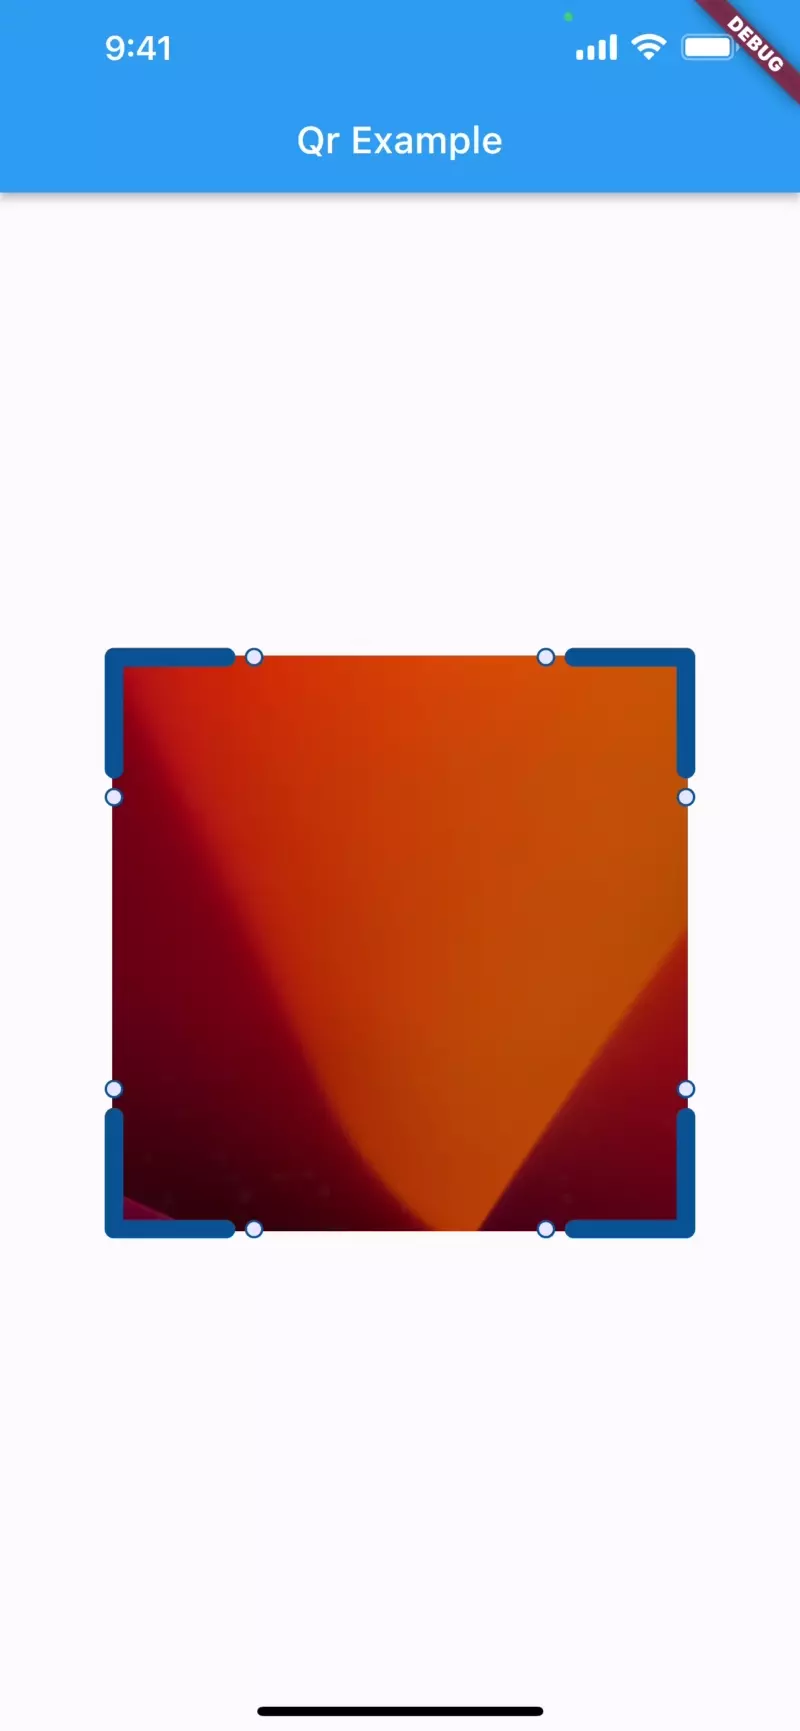
Demo #
| Success Scan | Scan Error | Permission Asked |
|---|---|---|
 |
 |
 |
Widgets #
QrScannerWidget<T>
QrScannerWidget<T> is the widget, which displays a QR scanner and a loading indicator below the QR scanner.
The widget can be configured so it returns the expected value ones the validation has passed.
Functions #
void showAppCameraPermissionBottomSheet()
showAppCameraPermissionBottomSheet() is a function, which shows a bottom modal sheet
with a text message on the screen. You should provide that message telling the user, that he/she should enable
the access of the application to the device's camera.
void showQrScannerErrorBottomModalSheet()
showQrScannerErrorBottomModalSheet() is a function, which can be used to provide a bottom modal
sheet, that displays the error returned from the onError method of QrScannerWidget.
Note: The implementation of the abstract class QrValidationService<T> should be provided to the QrScannerWidget.
Getting started #
For Android
Step 1: Configure your project by adding to your_project_root/android/app/build.gradle:
    android {
        compileSdkVersion 33
    }
Step 2: Add in your_project_root/android/gradle.properties:
    android.useAndroidX=true
    android.enableJetifier=true
Step 3: Open the AndroidManifest.xml file in your android/app/src/main directory and add the following device permissions:
   ...
    <uses-permission android:name="android.permission.CAMERA"/>
   ...
For iOS
Step 1: Open the Info.plist file in your ios/Runner directory and add the following permissions:
    ...
    <key>NSCameraUsageDescription</key>
    <string>Your message to user when the camera is accessed for the first time</string>
    ...
Step 2: Open the Podfile file in your ios directory and add the following permissions:
    ...
     post_install do |installer|
      installer.pods_project.targets.each do |target|
        flutter_additional_ios_build_settings(target)
        target.build_configurations.each do |config|
            config.build_settings['IPHONEOS_DEPLOYMENT_TARGET'] = '12.0'
            #  Preprocessor definitions can be found in: https://github.com/Baseflow/flutter-permission-handler/blob/master/permission_handler/ios/Classes/PermissionHandlerEnums.h
            config.build_settings['GCC_PREPROCESSOR_DEFINITIONS'] ||= [
              '$(inherited)',
              ## dart: PermissionGroup.camera
              'PERMISSION_CAMERA=1',
            ]
        end
      end
    end
    ...
Usage #
Step 1: Add widget_toolkit_qr package as a dependency in your pubspec.yaml file:
$ flutter pub add widget_toolkit_qr
Step 2: If you missed the steps in the [Getting started][#getting-started] section now is the time to apply them.
Step 3: Pass the WidgetToolkitTheme and QrScannerTheme extensions to the ThemeData of your app:
    MaterialApp(
      theme: ThemeData.light().copyWith(
        colorScheme: ColorScheme.fromSwatch(),
          WidgetToolkitTheme.light,
     QrScannerTheme.light, ],  ),
      darkTheme: ThemeData.dark().copyWith(
        colorScheme: ColorScheme.fromSwatch(),
        extensions: [
     WidgetToolkitTheme.dark, QrScannerTheme.dark, ], ),);
Note: The WidgetToolkitTheme comes from the Widget Toolkit package which already presence in the Widget Toolkit QR package.
It can be imported with the following line:
import 'package:widget_toolkit/widget_toolkit.dart';
Step 4: You should provide implementation of QrValidationService<T>, for example:
    class QrService extends QrValidationService<String> {
      @override
      Future<String> validateQrCode(String qrCode) async {
        ///TODO: validate the qr data here
        return qrCode;
      }
    }
Step 5: Import the package with the following line:
import 'package:widget_toolkit_qr/widget_toolkit_qr.dart';
after which you are ready to start using the widget in your app.
Example for QrScannerWidget<T> usage:
    QrScannerWidget<String>(
      qrValidationService: QrService(),
      onCodeValidated: (result) => showBlurredBottomSheet(
        context: context,
        builder: (ctx) => MessagePanelWidget(
          message: result ?? '',
          messageState: MessagePanelState.positiveCheck,
        ),
      ),
      onError: (error) => showErrorBlurredBottomSheet(
        context: context,
        error: TranslateErrorUtil.translateError(error),
        configuration:
            const ModalConfiguration(showCloseButton: true),
      ),
    )
Customization #
We try to make the QrScannerWidget<T> as customised as possible.
qrValidationService #
requires an implementation of QrValidationService<T>.
onCodeScanned #
is an optional callback which is called right after the QR code has been scanned and before it is passed to the validation service.
onCodeValidated #
is an optional callback which returns the result from the validation method.
onError #
is an optional callback which return an error no matter if it is a validation error or an error which comes from the QRScanner itself.
cameraPermissionButtonText #
an optional property overriding the text in the button, which is in the camera permission bottom modal sheet.
cameraAccessTitleText #
an optional property overriding the title of the camera permission bottom sheet.
cameraAccessLabelText #
an optional property overriding the content of the error in the camera permission bottom sheet.
cameraPermissionBottomSheetConfiguration #
it customises the camera permission bottom sheet behaviour.
spaceBetweenScannerAndLoadingWidget #
a double value used to set the space between the QR scanner widget and the loading widget.
isLoadingIndicatorVisible #
is a boolean property with a default value true which defines if the loading indicator should be visible while the scanned QR code is processed.
Metadata
Publisher
Weekly Downloads
Metadata
A Flutter package which provides a QR scanner widget easy integratable into the application.
Homepage
Repository (GitHub)
View/report issues
License
![]() unknown (license)
unknown (license)
Dependencies
flutter, flutter_localizations, flutter_qr_bar_scanner, flutter_rx_bloc, flutter_svg, permission_handler, provider, rx_bloc, rxdart, theme_tailor_annotation, widget_toolkit